Steps to Follow
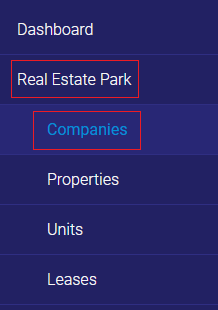
1. Go to the “Real Estate Park” tab and the “Companies” subtab.
2. Click on “Add” at the top right.
![]()
3. Enter the name of your first company, its address and any other information you deem necessary.
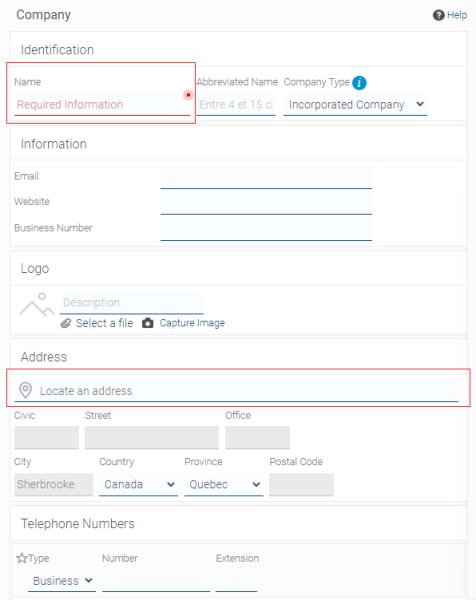
4. Click on “Finish”, and the creation box for a property will appear.

5. Enter the address of your first property and any other information you deem necessary.
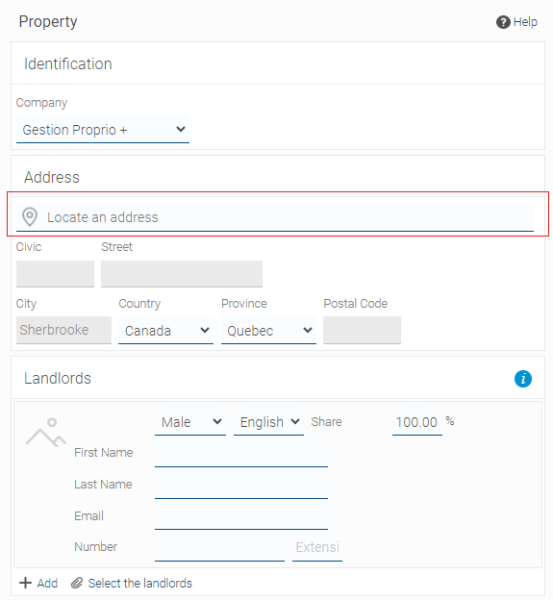
6. Click on “Finish”, and the creation box for a unit will appear.

7. Enter the unit number and any other information you deem necessary.
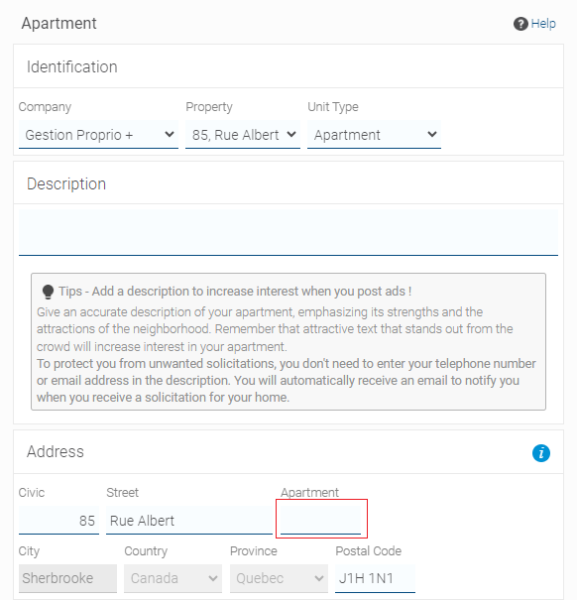
8. Click on “Finish”, and the creation box for a lease will appear.

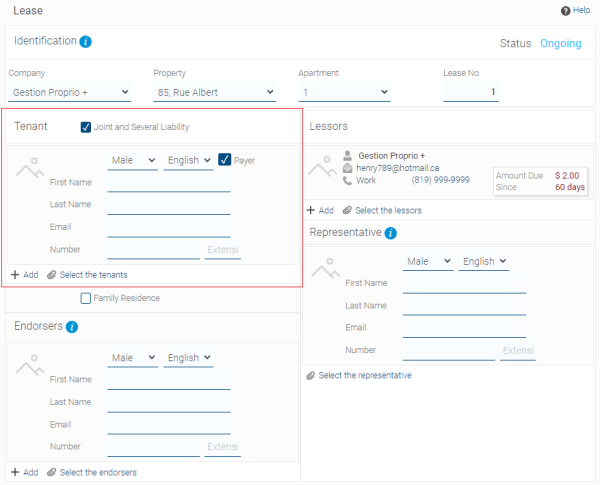
9. Enter the name of the tenant(s) and the landlord(s), and click on “Next.”
![]()
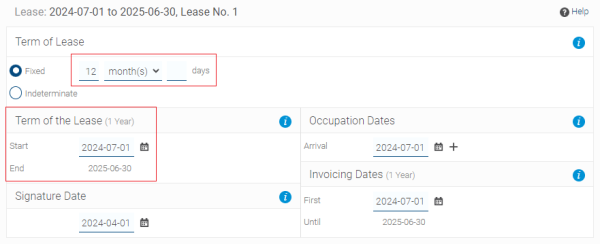
10. Enter the duration dates, and click on “Next.”

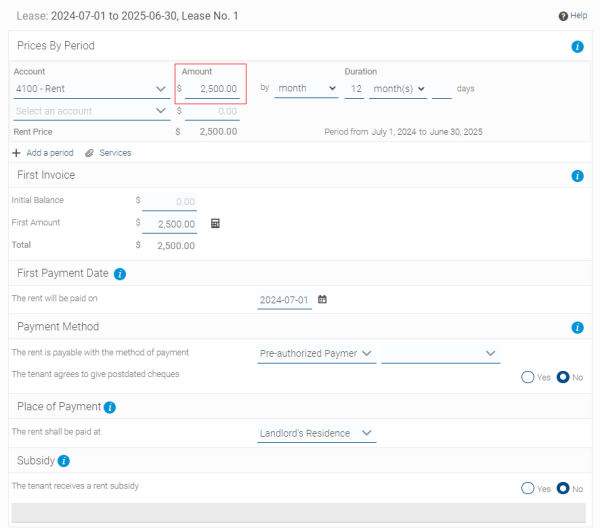
11. Enter the rent and any other information you deem necessary, or click on “Finish.”

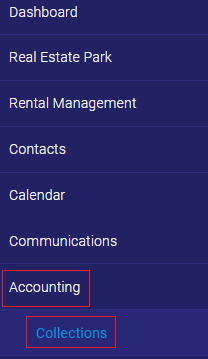
12. Go to the “Accounting” tab and the “Collections” subtab.
13. Check “Previous Balance Due”, and the rent for the lease you just created should appear. Thus, you know which rents must be collected.

You are now ready to use Proprio Expert.

